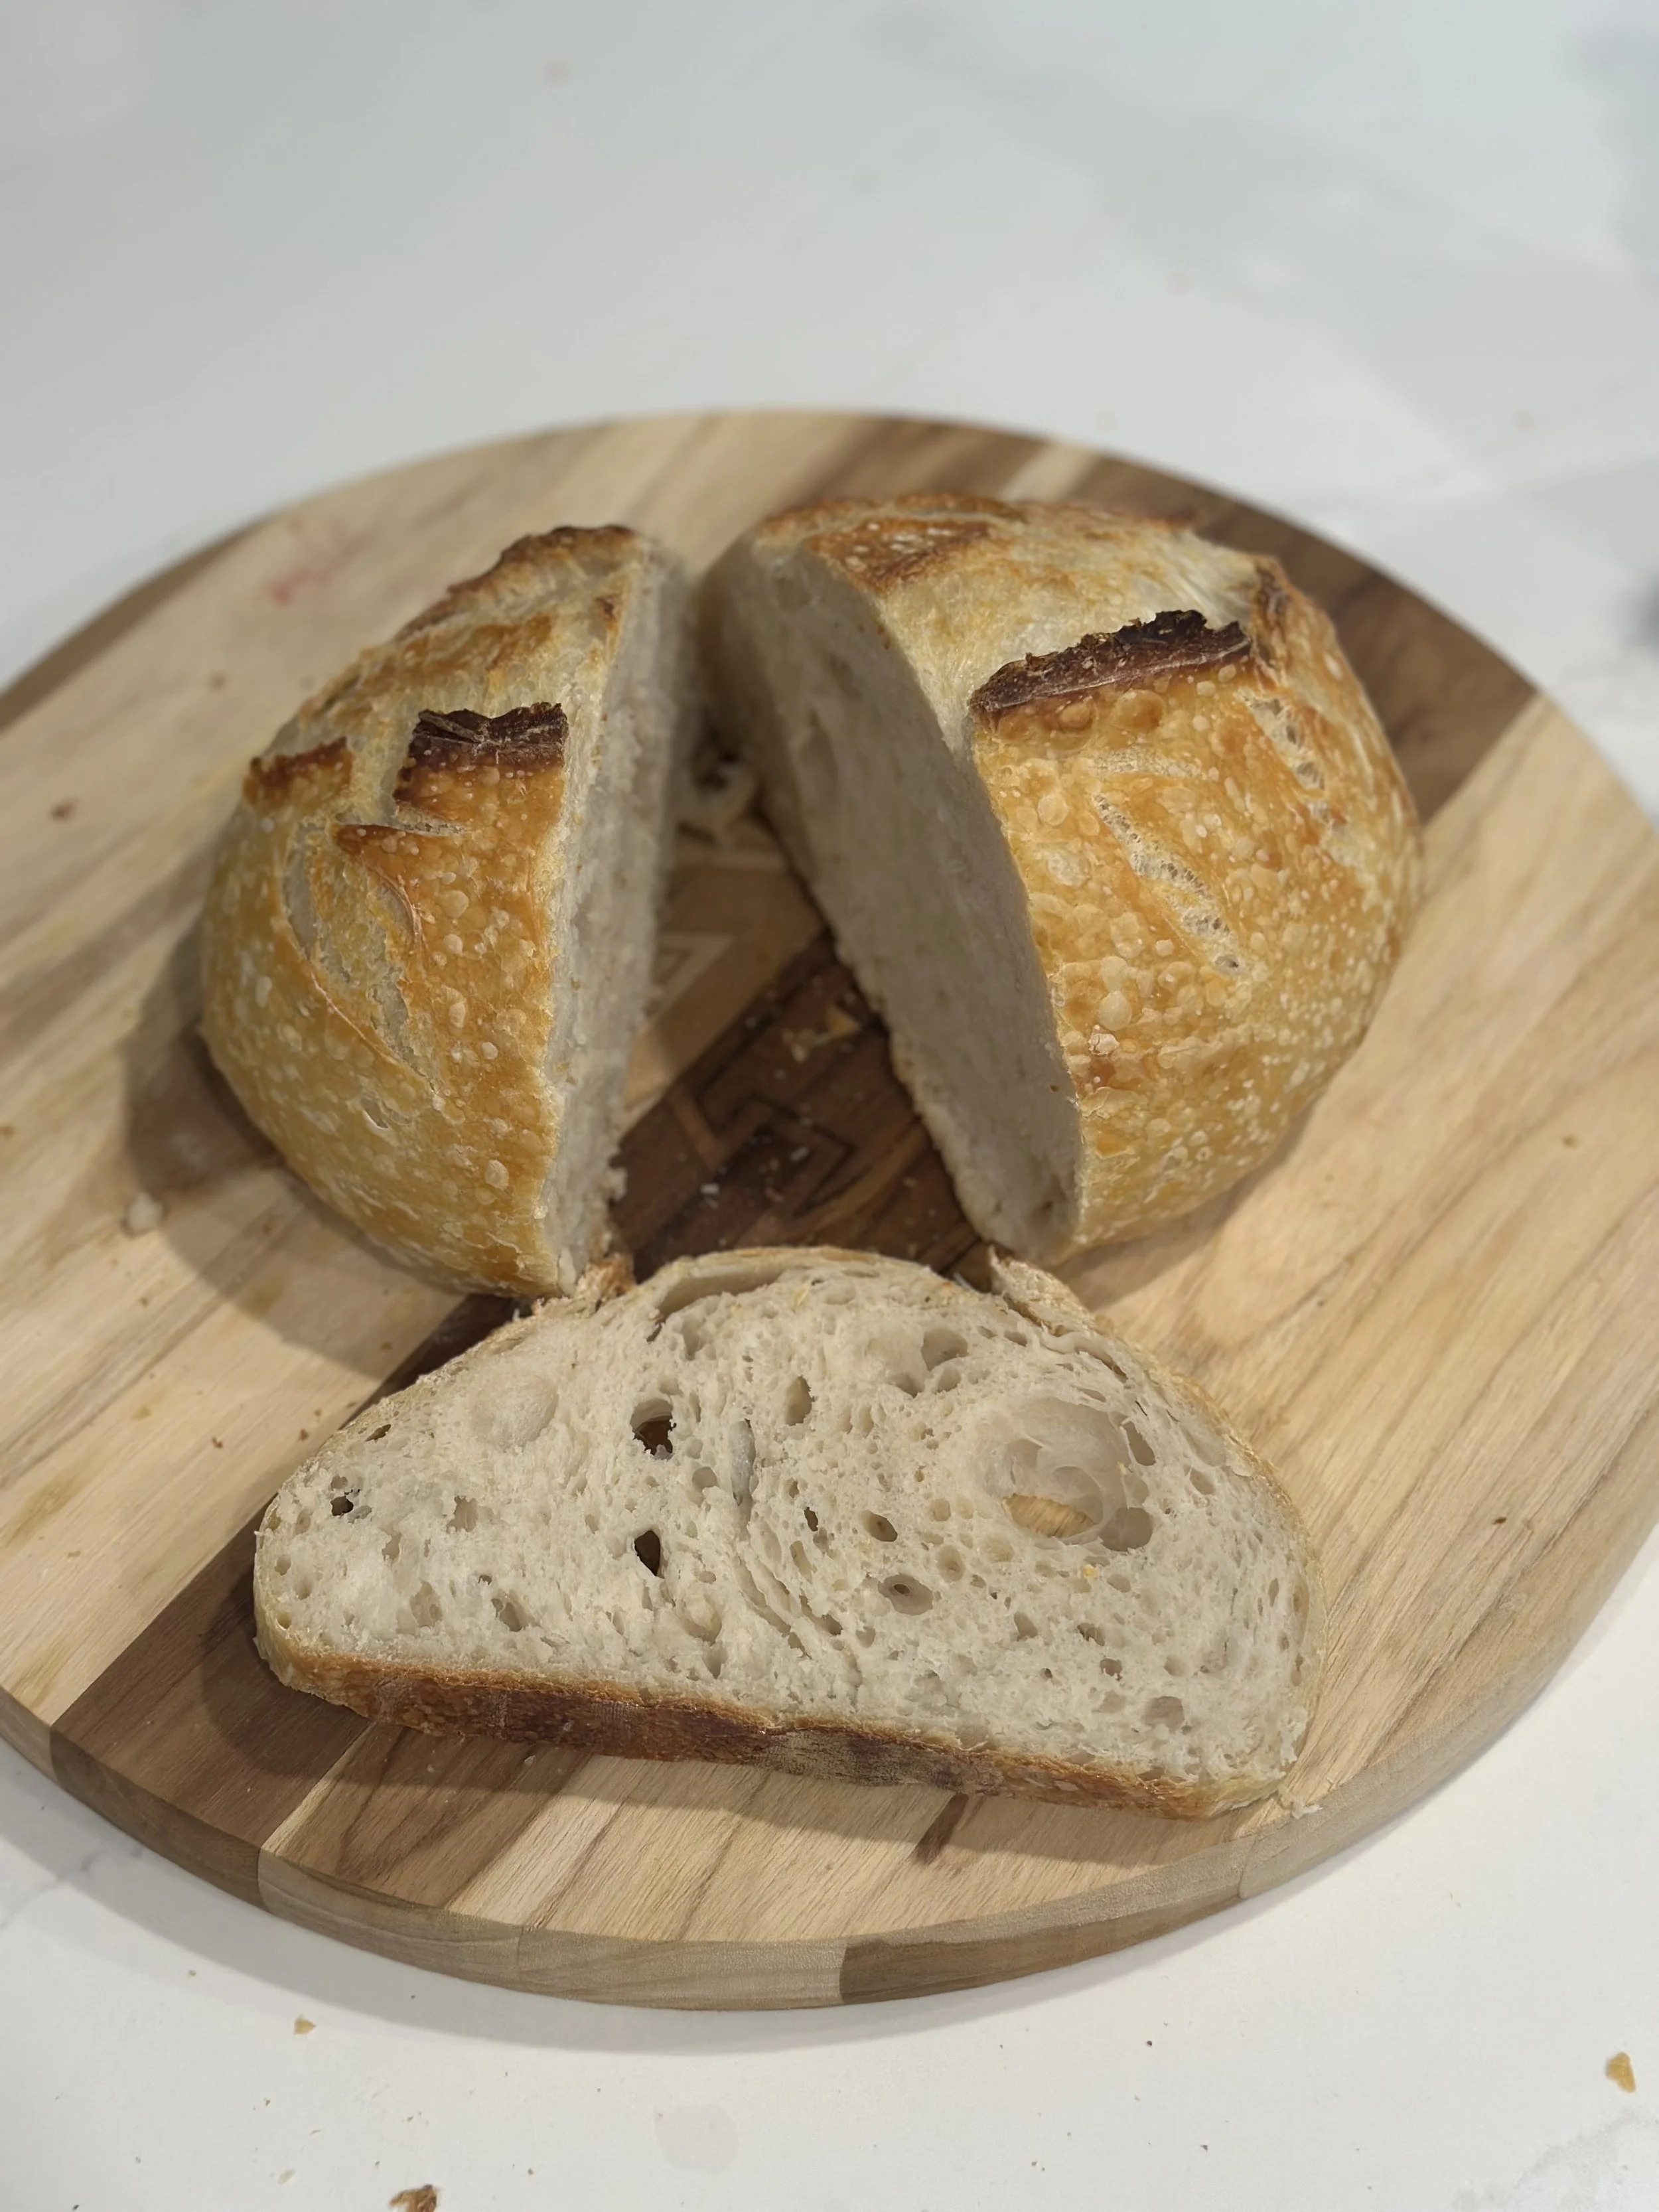
Homemade Artisan Bread
Many of us are looking for creative outlets as part of “stay home, stay healthy” during Coronavirus quarantine and social distancing, and tons of you have asked me how I make my delicious homemade bread. I am happy to help and share my journey that started in 2008 and perfected with a book called Water, Flour, Salt, Yeast by Ken Forkish - a gift from my wife (super smart lady, obviously). The journey has been filled with many failures and some damn tasty loaves.
As an architect, I find bread making similar to the creative and technical processes of designing buildings, and it’s fun to see (and taste) the outcome of a well-regimented, yet creative, process.
I just love the calming effect of the smell of homemade bread in the house (and the break from work that it gives me).
The process below highlights my journey of making homemade artisan bread with my own starter, and it makes two loafs. If you don’t have a starter, no worries. See the note on Step 1. However, I highly recommend getting a starter going. It’s part of the fun and gives both a nice sourdough taste and a complex architecture to the bread and crust. See my quick reference sheet if you do want to make a starter.
I hope you enjoy the focus, joys, ups, and downs of making bread like I do:)
Join me for a LIVE TUTORIAL forum on Facebook Live this Friday (April 10) at 9am Pacific time (noon eastern)!
Step-By-Step Instructions:
(See quick reference sheet if you don’t have a starter and would like to make one)
Feeding the Starter (Day1+2)
Note: If you don’t have a starter, you can skip this step and replace the starter with 4g (1tsp) of yeast and use 1000g (7.75C) flour with 720g (3.25C) of water (start at Day 2 after the second feeding at the asterix*).
With a wet hand, mix 200g (0.75C) of starter with 400g (3C) of white flour, 100g (0.75C) of wheat flour, and 400g (3C) of 95F water in a mixing bucket. Put the lid on, and keep it in room temp for 24 hours. (Day2) After 24 hours, throw away all but 100g (0.75C) of starter and repeat the process above, Move to next step after 6-8 hours. (If you don’t have a scale, measuring cups work, but don’t compress the flour. If you don’t have a thermometer, 95F feels like pee. I have heard chefs say that! If your body is 98.6F, then your pee would be slightly less than that once it’s out of your body. Just sayin! Wash your hands! Just make sure the water is warm - not hot.)
Mixing the ingredients (Day2)
6-8 hours after the second feeding of the starter in the previous step, *in a different large tub, with a wet hand, mix together 604g (4 2/3C) of white flour, 276g (2C) of wheat flour, and 684g (3C) of 90F water. After 30 minutes, mix in 216g (0.75C) of starter and 22g (1T) of salt. (Save the rest of the starter in a lidded container in the refrigerator for next time. I have left mine there for over a month.) With a wet hand, fold it 4 times in the first hour or two. (Don’t puncture or tear the dough. Reach under and stretch it over top until its a firmer dough ball.) Put the lid on and keep it in room temp for 12-15 hours. (or refrigerate after 4 hours if it sticks to the container)
Proofing and Baking (Day3)
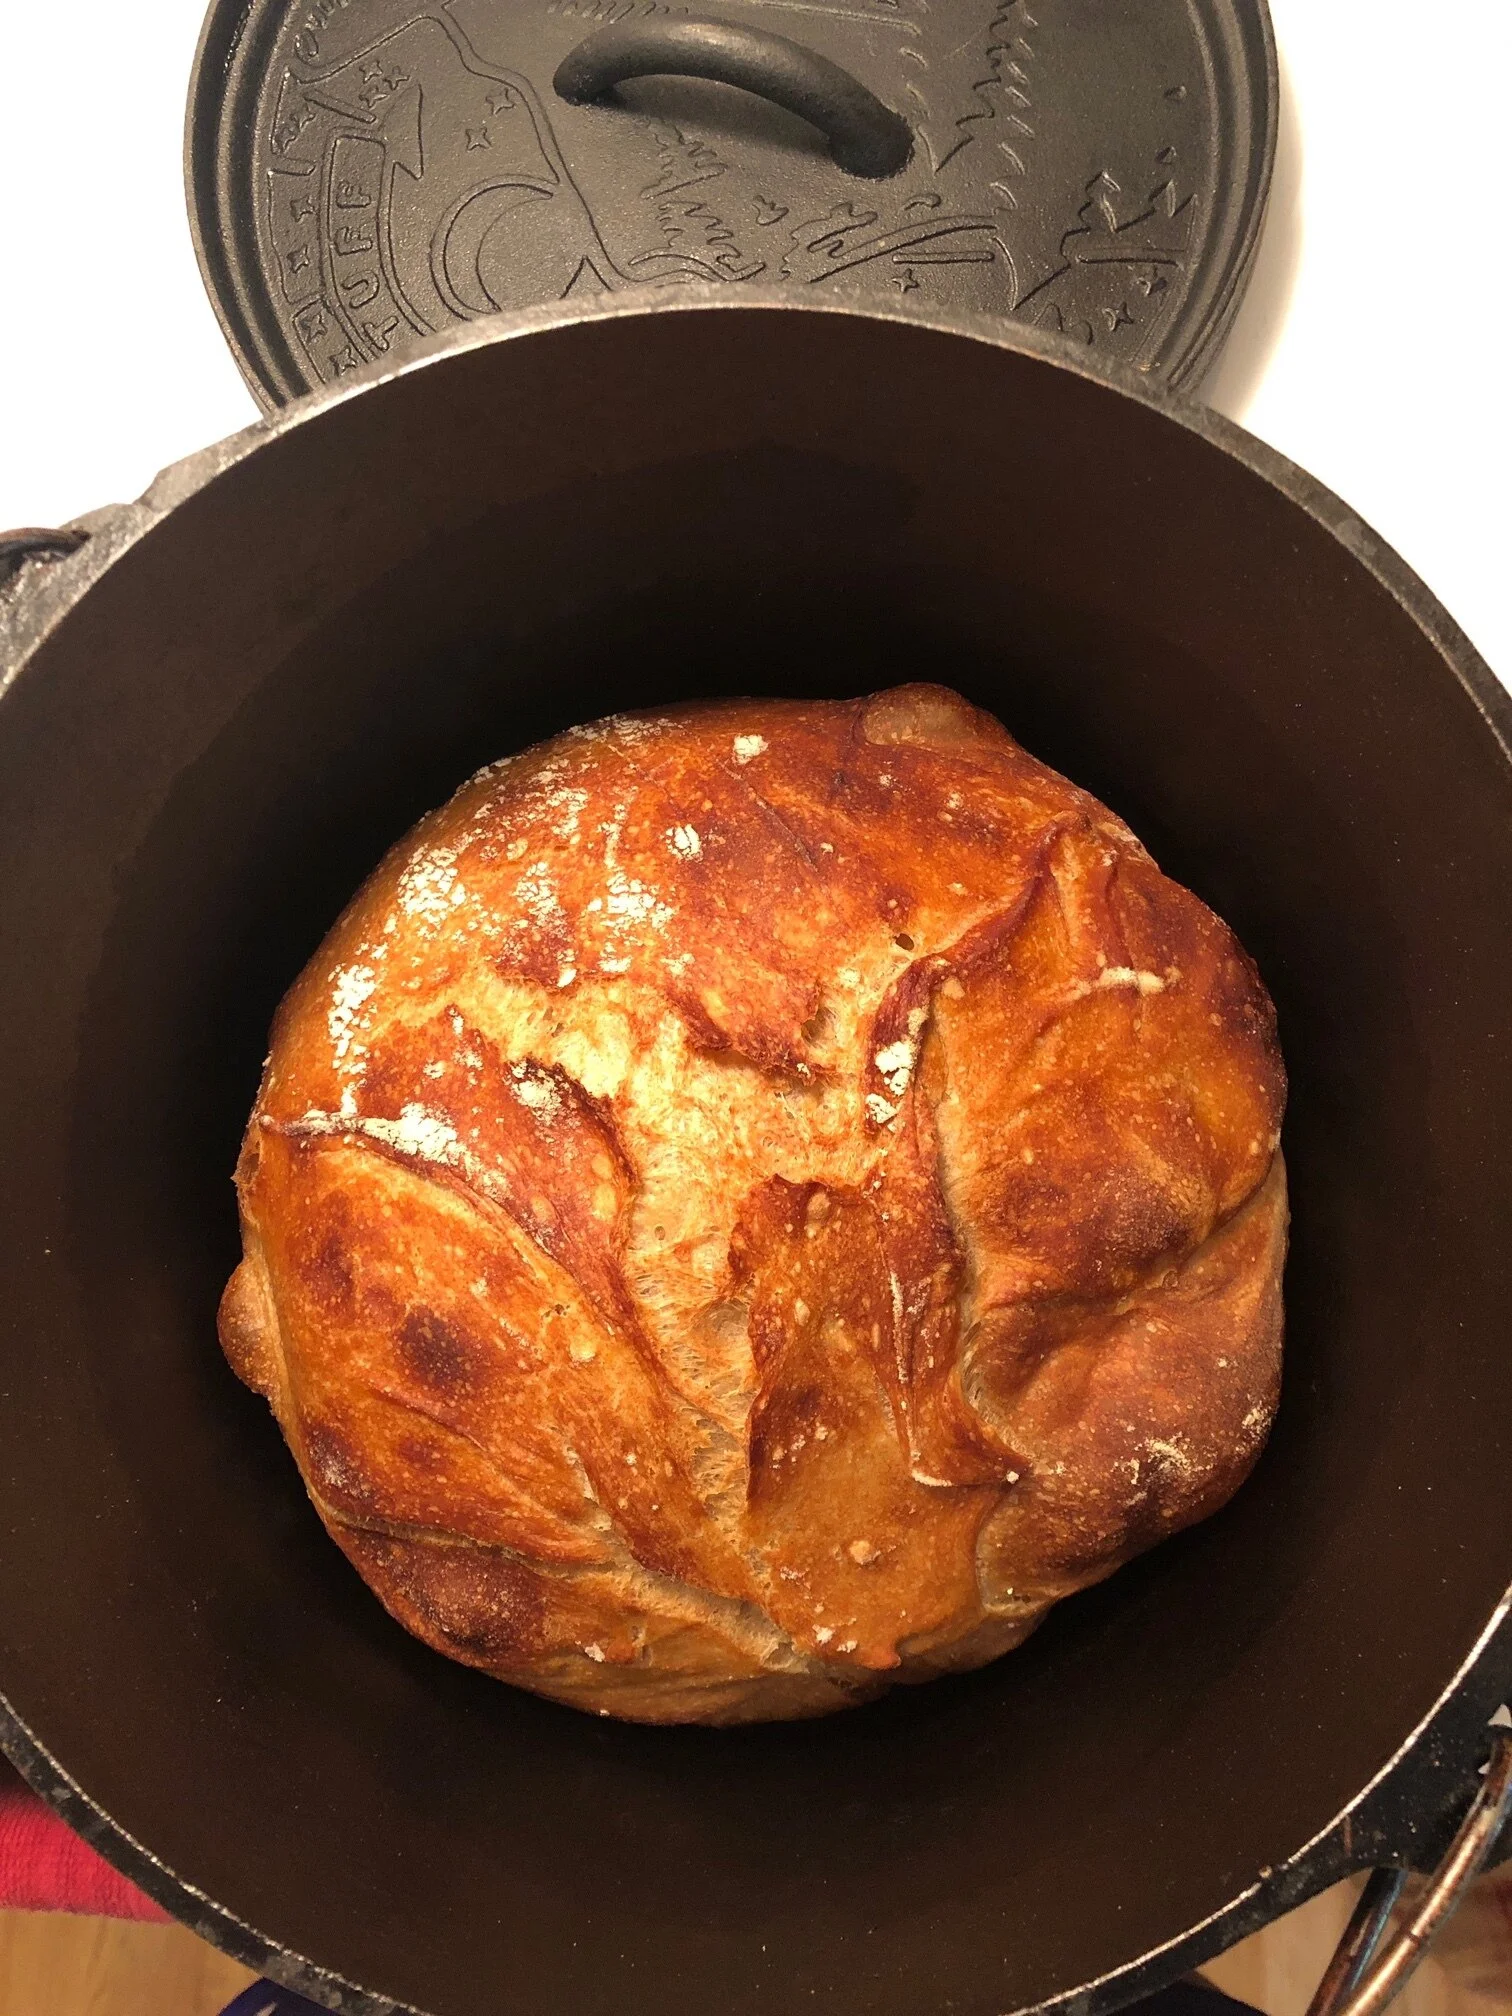
After the dough has risen to its max about 12-15 hours later, sprinkle some flour on the counter and carefully pull the dough onto it with floured hands. Don’t puncture or tear it. Cut it in half by sprinkling flour where you will cut. With floured hands, fold 2 tight dough balls as explained in the previous step. Put these in a floured basket or other container, and cover with a cloth for 4 hours. (I line mine with a floured cloth napkin). Put each dough ball in a dutch oven (or skillet if you don’t have one) and into a preheated oven at 475F for 30 min with the lid on and 15 min with the lid off (until brown). Let it cool and eat! Drizzle a little olive oil and salt on top!
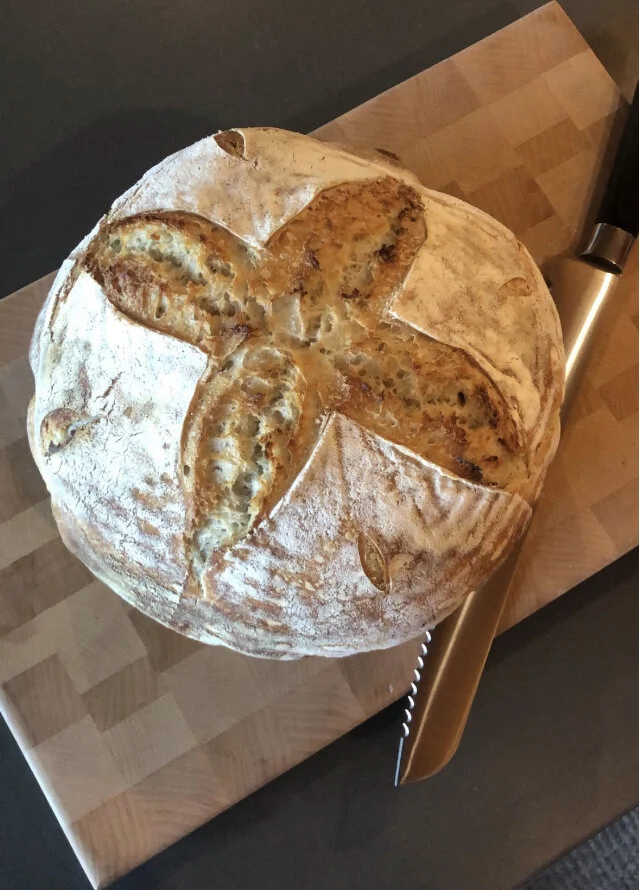
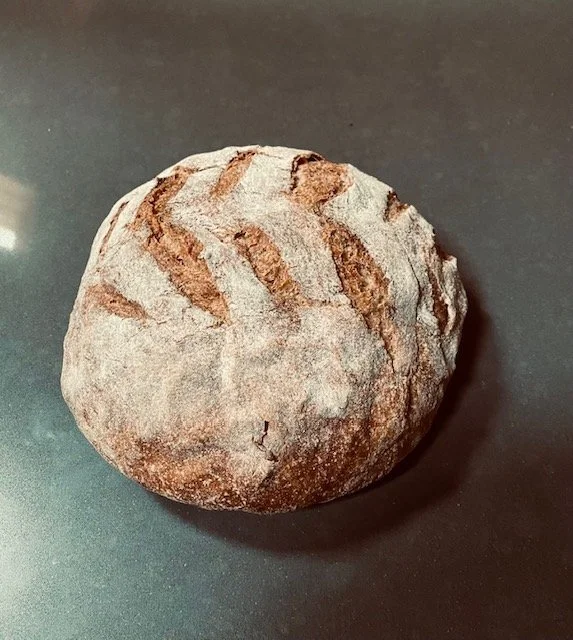
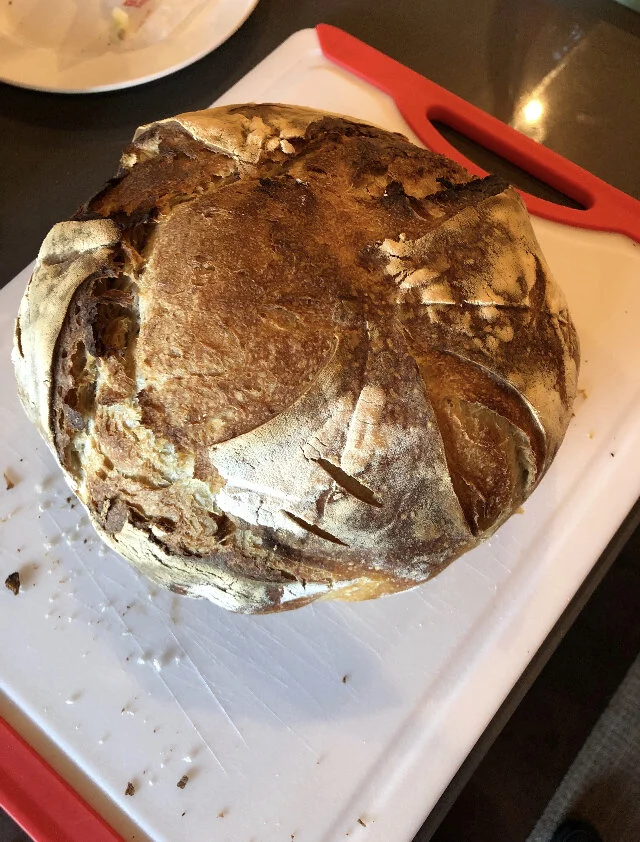
TIP: You may have seen some bread with cool patterns on it. The spiral ribs you see are often from a basket. The patterns are also done by cutting the dough ball with a VERY sharp knife. This adds an extra level of creativity, experimentation, and fun! Send me your closeups (or tag me on Instagram or Facebook), and I’ll post them here!
Josh Brincko
Chris LeCroy & Grace
Josh Brincko
Taylor Proctor
Mick
Kim Obbink
Taylor Proctor
Josh Brincko
McKenzie Escajadillo
Helpful Products
(Amazon Links below)
Set of TWO 6-Quart Starter Tubs (With Lids): Great for feeding starter and for storing flour. I own 4 of these.
One 12-Quart Mixing Tub (Without Lid): Perfect size for mixing flour with water, salt, and starter. I own 2 of these since I like to do a bread batch and pizza dough batch together.
Lid for 12-Quart Mixing Tub: You need a lid. I’m not sure why they sell it separately.
Digital Thermometer: This is helpful for ensuring your water is the correct temperature, so you don’t kill the starter.
Digital Scale: Since flour gets compacted and cannot be accurately measured with measuring cups, this will help you get things dialed-in without any guesswork. This is a simple one, but it’s ideal to have one with a detachable screen since the large bucket tends to cover up the numbers making it difficult to read.
Scraper: This is a nice-to-have for cutting the bread in half, but even better for cleaning flour off your countertop.
Proofing Baskets (set of two): These are called bannetons and are great for letting your bread rise. You can either use them raw, cover with cloth napkins, or buy the cloth covers for them. These are what gives your bread the pretty rings when it’s done.
4-Quart Cast Iron Dutch Oven: This is the most expensive part of bread making, and ideally, you have two of these to enable you to bake two loafs at the same time. The are nice because they keep the heat trapped around your bread while baking, and they also help the bread to keep its shape. If you don’t have one, you can use a cast iron skillet or cookie sheet, but your bread will likely collapse while baking. I like the Staub brand because the lid has a metal knob, and it’s a good value. Some brands like Le Creuset have a plastic knob.
Oven Mitts: I highly recommend getting these gloves. The dutch oven gets dangerously hot.
“Flour Water Salt Yeast” by Ken Forkish: This is the book that took me from “look at me everyone, I made my own bread,” to “holy shit! That bread is goooood! DID I JUST EAT 2 LOAVES?”
Other items you may need include: white flour, whole wheat flour, Caputo 00 flour is great for pizza, a cooling rack, a bread knife, a cutting board, a measuring cup for water (Pyrex), good olive oil, good salt, and good butter.
Tips and Troubleshooting
My bread is sticking to the basket. You can try adding more flour to the basket or around the outside of the bread next time. Sometimes the temperature in your kitchen is too hot, so put it in a cooler place. Other times, the yeast or starter is just not working normally, and you just get a bad batch. Don’t give up. Try again. Also, doing more folds during the first folding session may help. Try like 100 folds.
My bread is really sticky when mixing. Try just adding more flour until you like the consistency. If this doesn’t work, either the yeast or starter is misbehaving or the room is too warm. Also, doing more folds during the first folding session may help. Try like 100 folds.
My bread is sticking to the mixing tub when I try to remove it. This can happen when you didn’t give it enough folds while it was rising for 12-15 hours. Or it might just be a case of misbehaving starter or yeast. Sometimes the room is just too warm. Also, doing more folds during the first folding session may help. Try like 100 folds.
I am going to be late in one of my steps! What do I do? Chances are you will be fine or you just get a sticky bad batch. If you know you will be late (like several hours late), you could always put the dough in the refrigerator to stall it. It sort of puts the yeast to rest until you pull it out again. I don’t know how long you can do this stalling, but for a few hours is fine. Don’t sweat it if you are a few minutes early or late on any step. The key is to try to catch the dough at it’s maximum rise before it falls.
Why do I need to throw away so much dough? When you feed your starter water and flour, the yeast in the starter eat it. Once that happens, the yeast is fully developed and ready to propagate again. It is spent fuel, and you need to get rid of it. It is sort of like toothpaste. You use toothpaste, and then you spit it out. It did it’s job, and you need new toothpaste next time. Also, you can cut the starter feeding recipe in half if you are careful in saving enough starter after you use it (and if you only need enough starter to make one batch of bread).
My bread is stuck to the pot. If your pot is too small or baked too long, this can happen. Just try prying it out with a knife. You can just cut off any ugly spots, or just cut slices of the good parts and eat them.
How long can I leave my starter in the refrigerator? I usually use my starter once a week, but once in awhile I skip a week. There has been a few times I left in in there over a month, and it was still fine. Starter, known as levain, is a living organism. When you get into making bread with starter, it becomes a member of your family. Give it a name and feed it each week if you can. Mine is named Veila Levain. The temperature and humidity of your climate also matter. My friend Justin just moved to Austin, and he is a fantastic bread maker that is having a tough time keeping his starter going in that climate. It’s science, so you need to experiment until you find the right balance of temperature, humidity, water content, air surrounding the starter, etc.
How do I have a full time job and make bread with starter since the timing is so critical? This is tricky, and you will mess it up until you get your rhythm. I have certainly left work early to care for my bread. I have also brought my ingredients with me to house parties and other occasions because the timing just required it. I also got in a funk where I had to wake up at 3am to care for my bread. If you feed your starter at 7am, that means you need to feed it again at 7am the next day and then mix the ingredients and do some folds between 1pm-3pm. Then you end up being done with fermentation sometime between 1am and 6am the next morning. Then you will start a 4 hour proof that gets done around 5am to 10am and baking for an hour sometime around 6am to 11am. That doesn’t work with an 8am-5pm job unless you tote it with you. Here’s the schedule I use (when possible), so it doesn’t interfere with my work day:
Friday:
7am - feed starter
Saturday:
8am - feed starter
4pm - mix starter with ingredients
5pm - fold the ingredients
Sunday:
7am - divide and proof the loaves
10am - preheat oven
11am - bake loaves
12pm - eat tasty bread
*you can see that if you get up earlier (like a baker), you could have tasty bread for breakfast.
**you can always hit “pause” on your process by putting your dough in the refrigerator, so you can pick up where you left off by just taking the dough out of the refrigerator.
Here’s my quick reference sheet for making a starter, feeding a starter, and making homemade artisan bread:
oops... take note that 22g above refers to salt which I forgot to write on the cheat sheet:)


